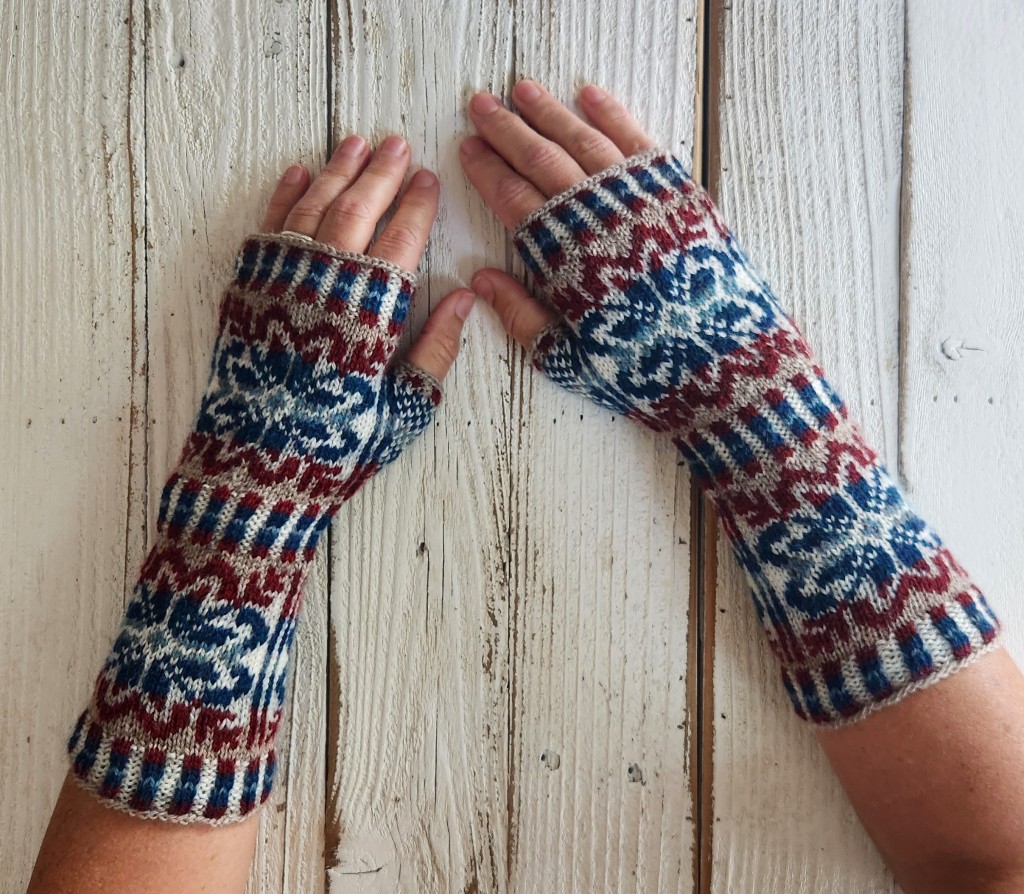
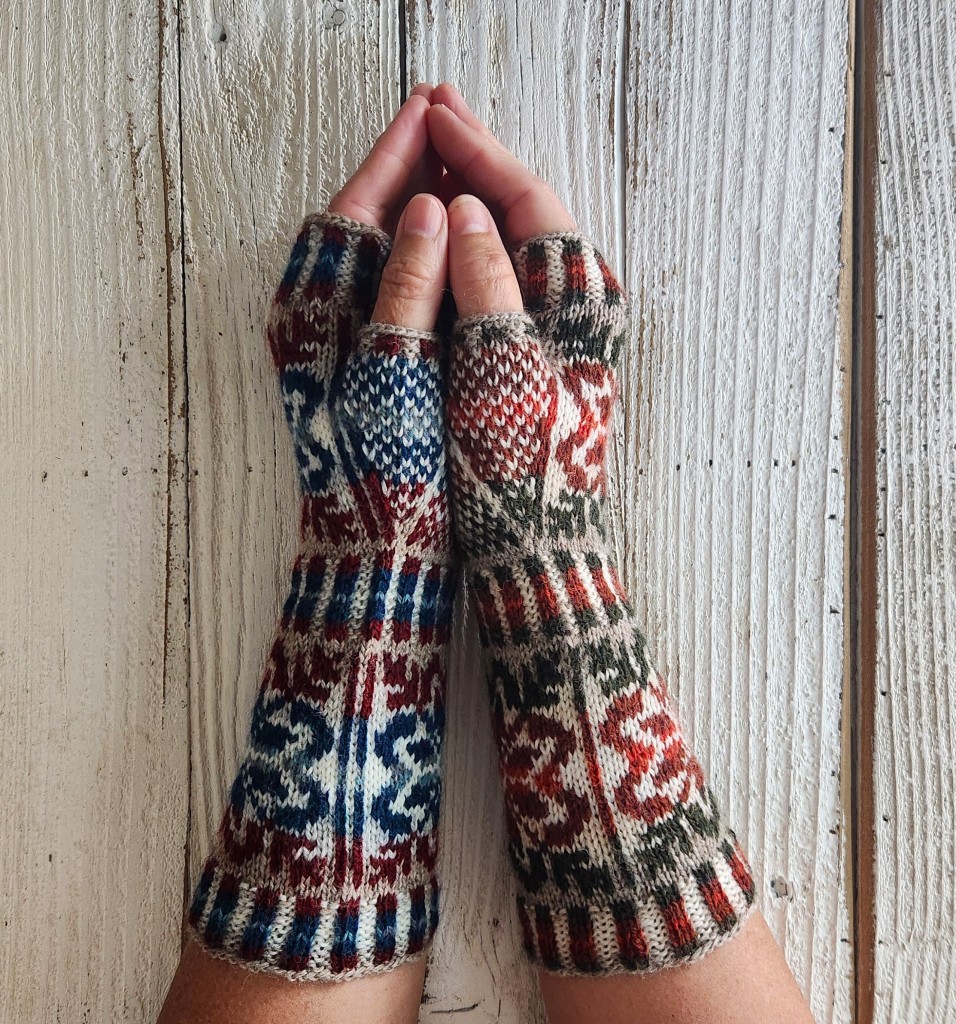
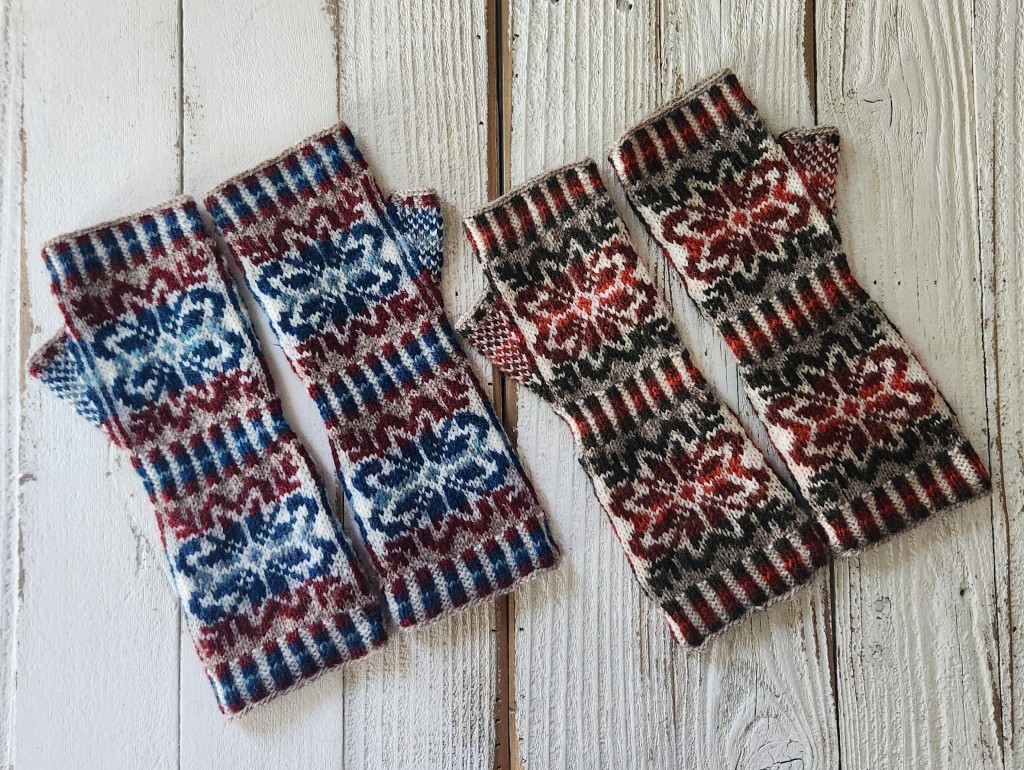
Glacia Mittens kept me busy for a week. After designing on the computer, I sat down and started knitting. I didn’t do a swatch this time!

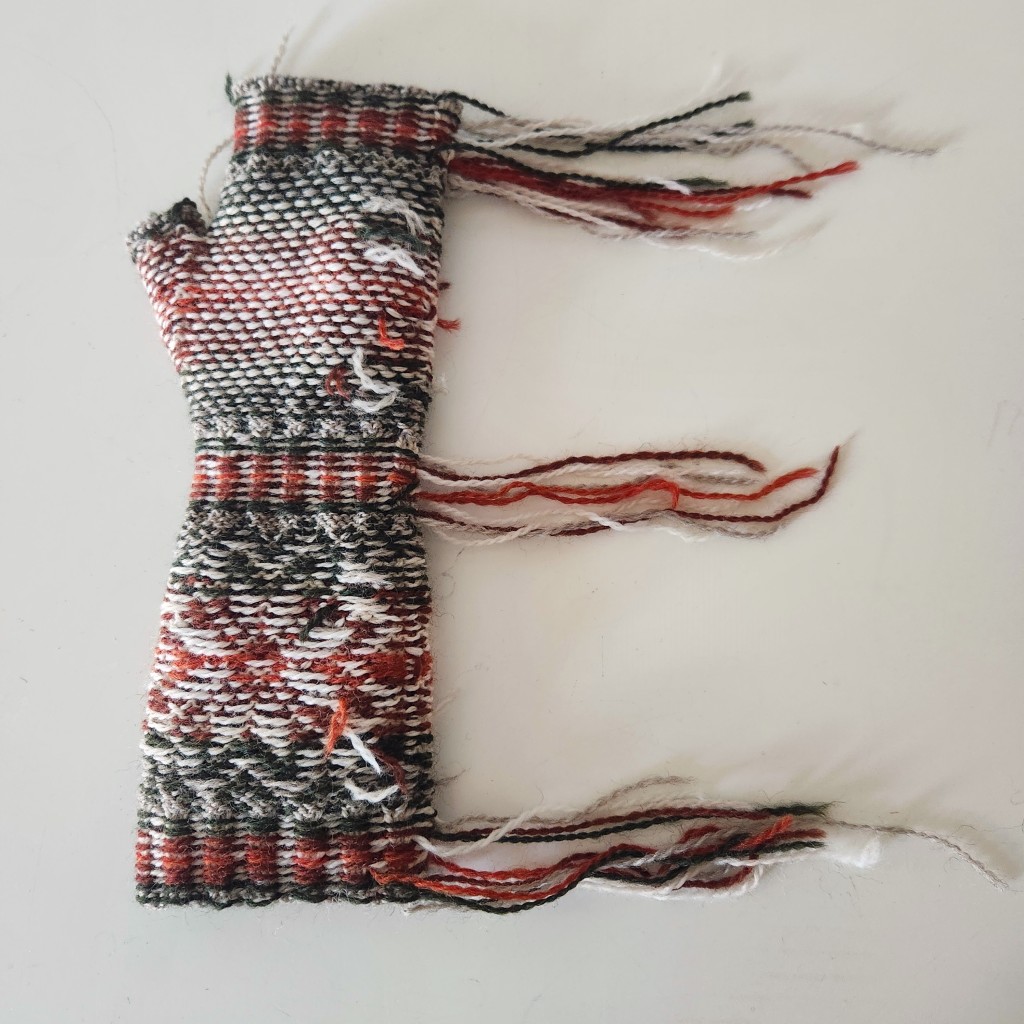
I’m sure we all have knitting “focus” categories in our minds. Mine are: Everything quiet, No talking, Ok for music to be playing, Ok for podcast to be playing, TV knitting, Conversation knitting, etc. I get motion sickness so I can never knit while riding in the car. There are, however, transportation knitting categories: OK for flights, OK on a ferry, OK for walking (never for me!). Glacia Mittens start with the cast on (No talking, No sound). Work a simple 2X2 ribbing (TV knitting). Work a Latvian Braid (OK for music). Start the charts (No sound for a few rows, then put on music). End with a kitchener stitch (No sound, No talking). Thumb (Music). Weave in the ends (Conversation or Podcast). Categories may very. Warning: if you don’t weave in your ends as you go you will need to listen to several podcasts to weave them in at the end.

Here’s the pattern for Glacia Mittens. If you make them please send me a photo or post on Ravelry. Enjoy!
Please do not post this pdf on other websites! If you want to share it, just link to this page.