In July this year we were traveling in Oregon and I took my husband to Indiola. This is a place up the road from Mapleton on Lake Creek. We were just passer-byes being that I don’t know anyone who lives there anymore. It is were my grandmother lived and it is were my mother grew up. I spent many of my childhood days playing in the river there and running wild. Since I was knitting these mittens on that trip I named them “Indiola Mittens”. My mother passed away this fall so I’m a little sad posting this tribute to her childhood home. The actual house she lived in is gone now, but the air smelled the same and the river still runs.

Near the river is a plaque dedicating the boat landing to my grandparents. May their spirit live on and on!
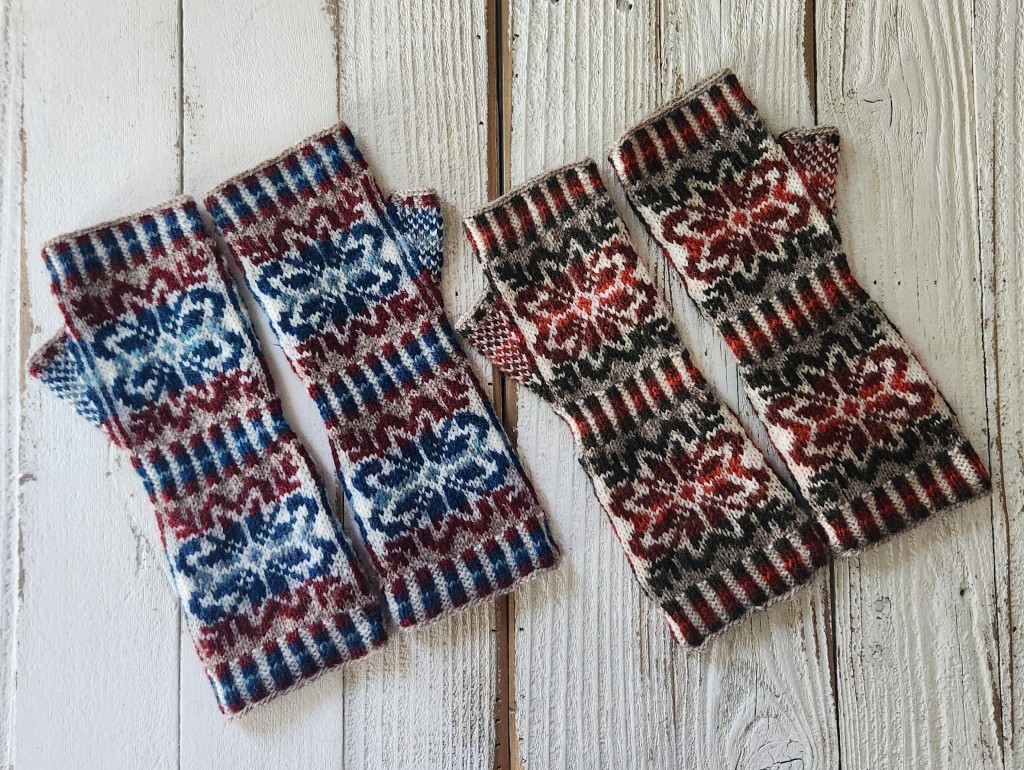
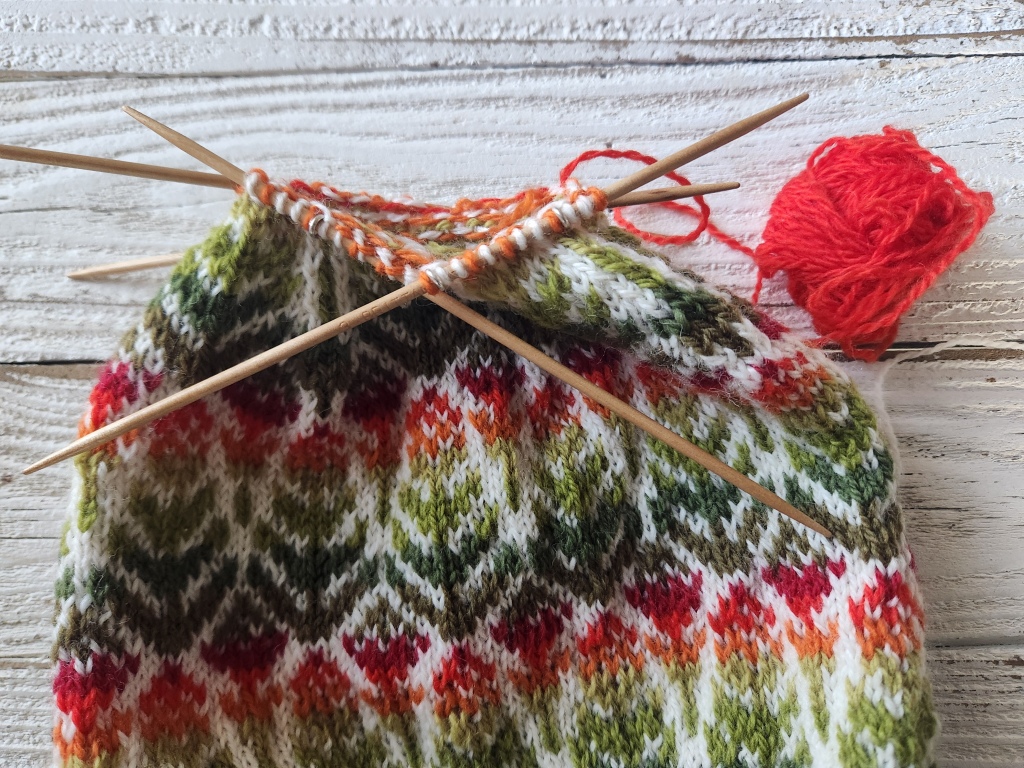
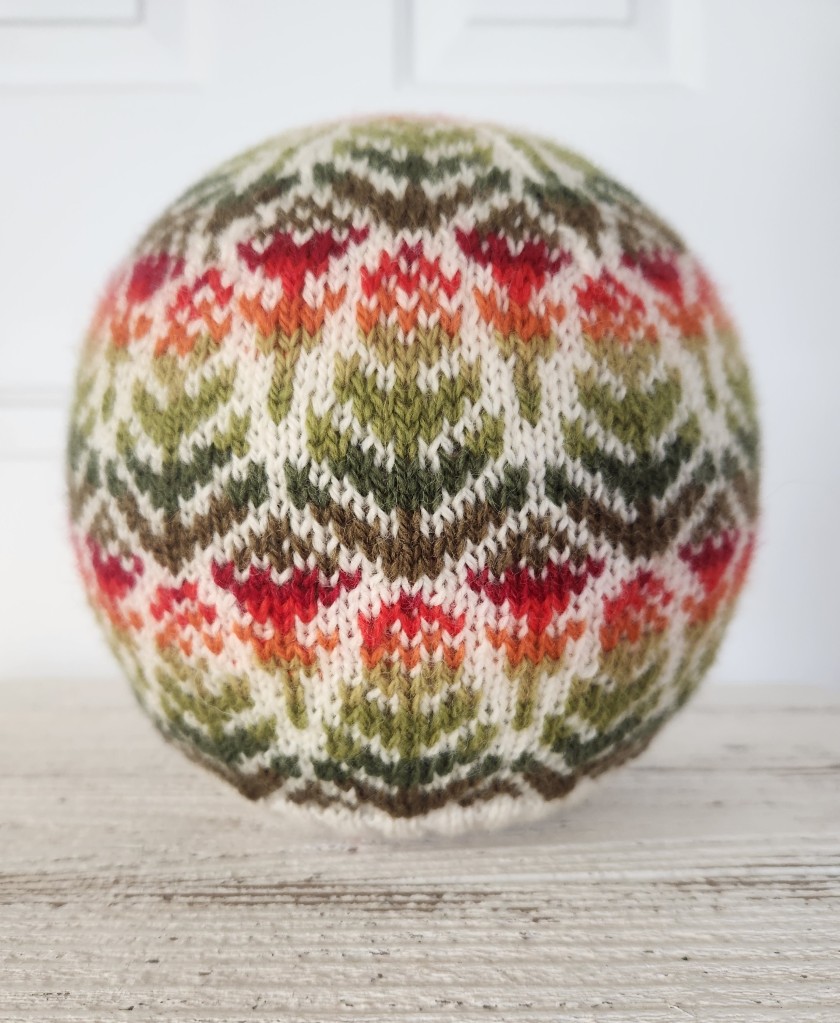
Now, on to the knitting. The color of the year for me was Coriander Heather (a Knit Picks color that’s basically oatmeal). Here’s just a sample of the knitting I did this year and it’s clear I had a theme going on.

Here we have Floretta Mittens, Indiola Mittens, Blyn Hat, and a baby sweater (no pattern). I simply could not stop knitting flowers!
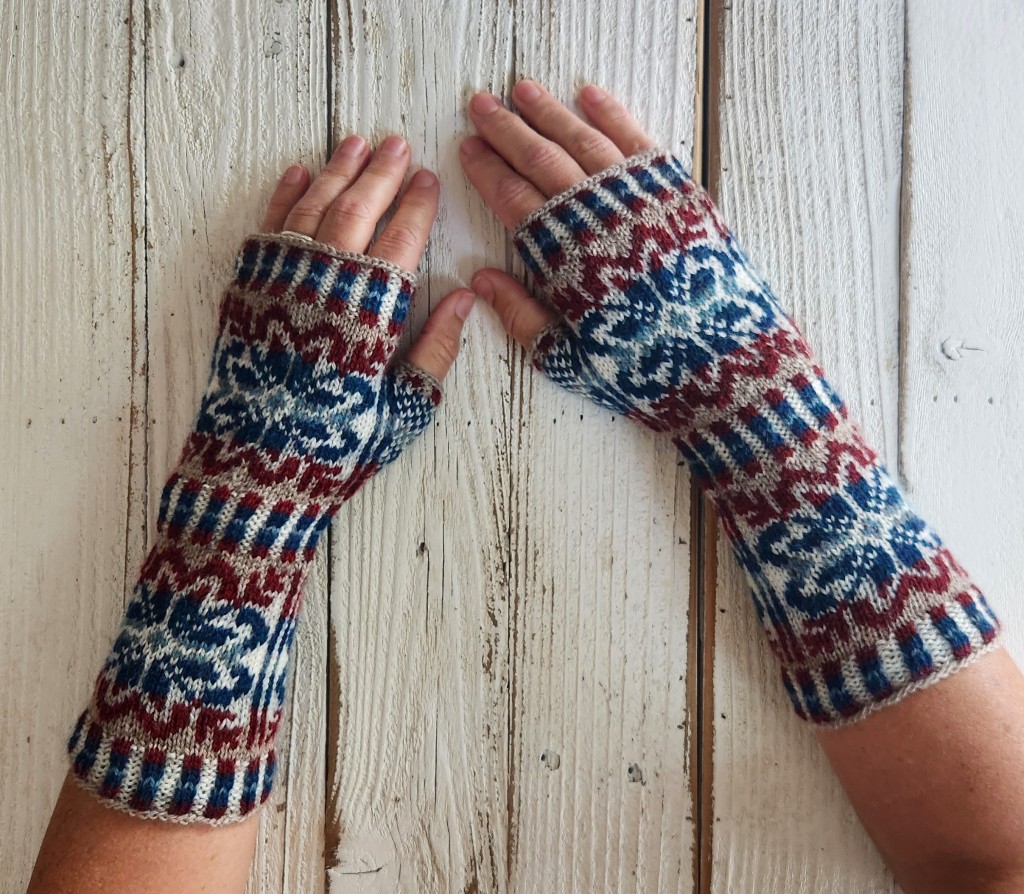
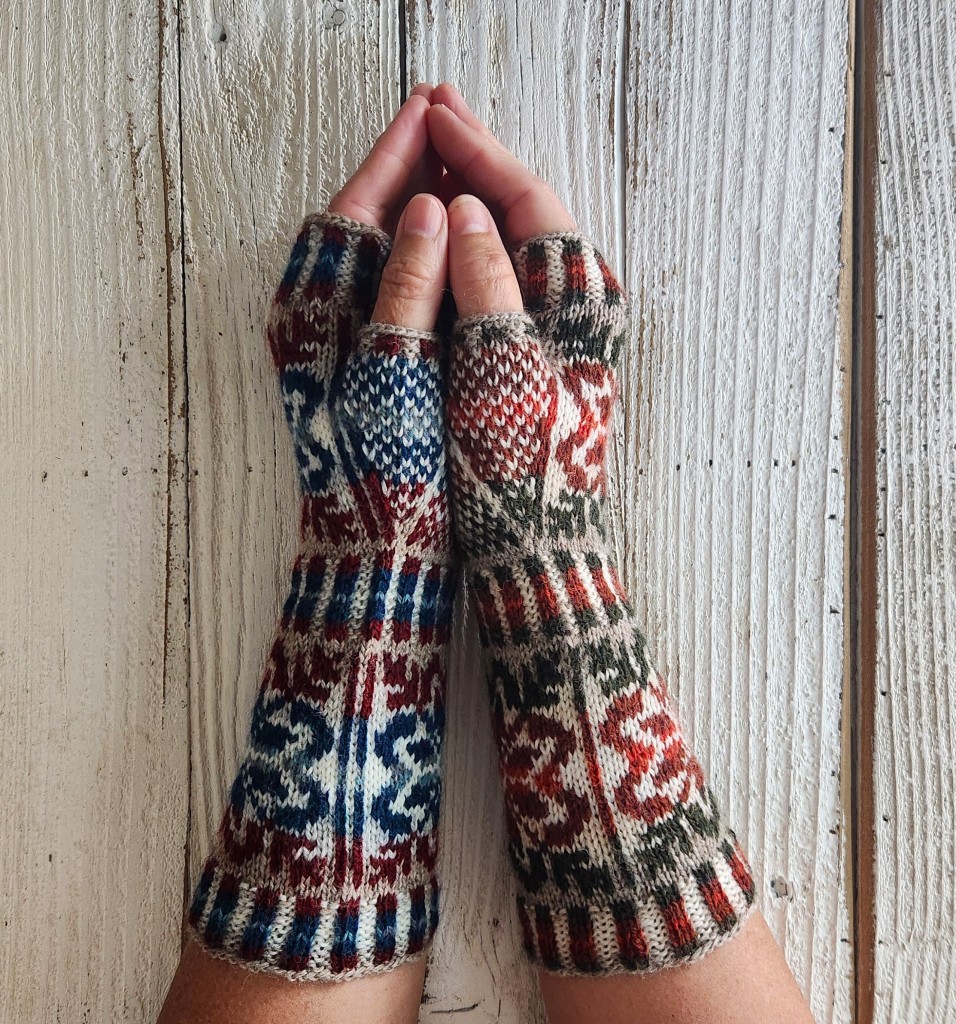
The other thing I was obsessed with this year is what I call “fancy thumbs”. I love designing mittens with complicated thumbs. Yes, it’s a bit fussy to knit in the round with 20 stitches but I just love how it turns out.

Here’s the Free Knitting Pattern for Indiola Mittens. If you make them I’d love to see a photo. Please post on Ravelry or send me a message. Happy New Year!
Please do not post this pdf on other websites! If you want to share it, just link to this page.